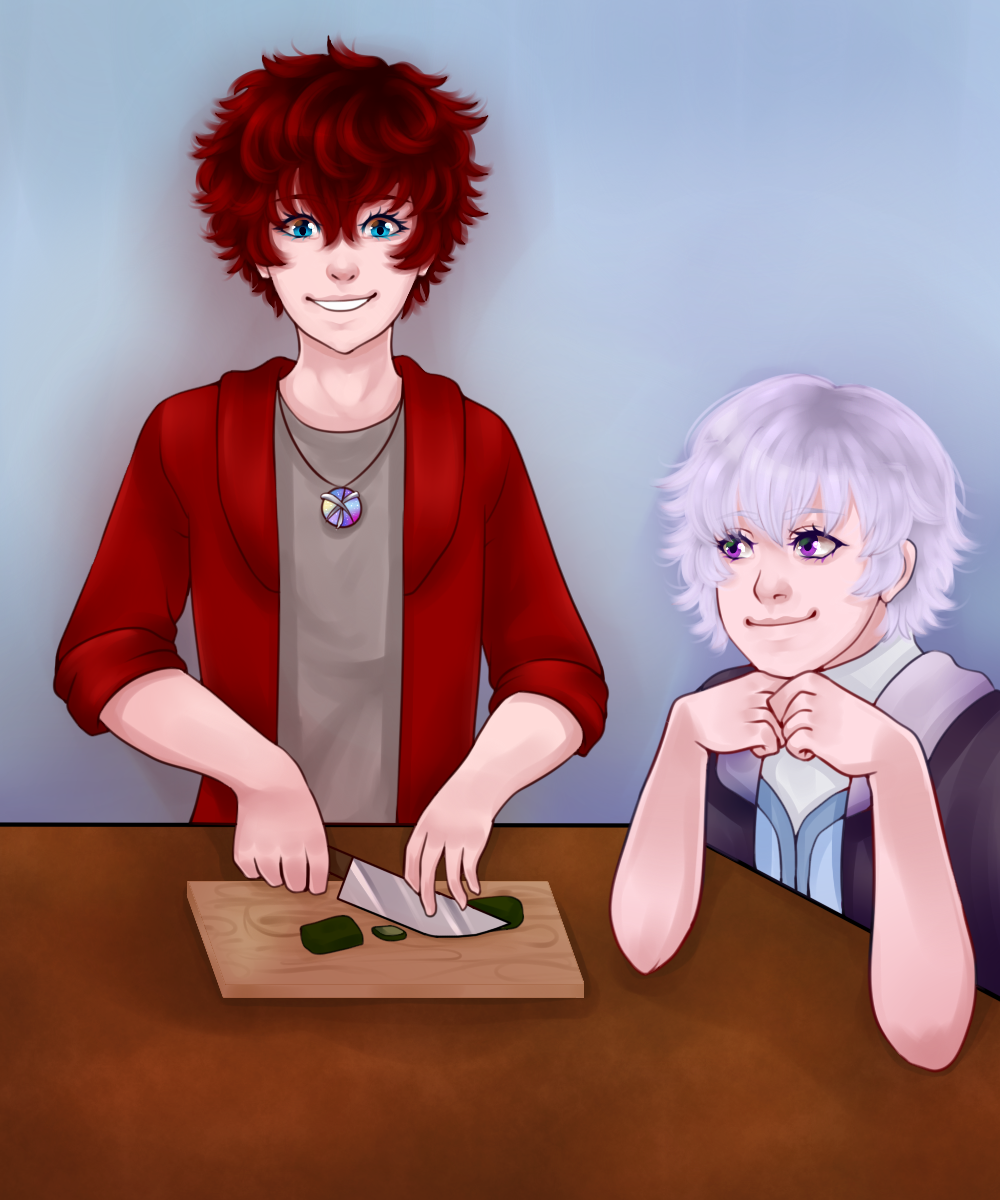
Well, tomorrow is Valentine's Day in America, so to celebrate we have new art of Kotachi and Ophi! I wonder what Kotachi is cooking up~?
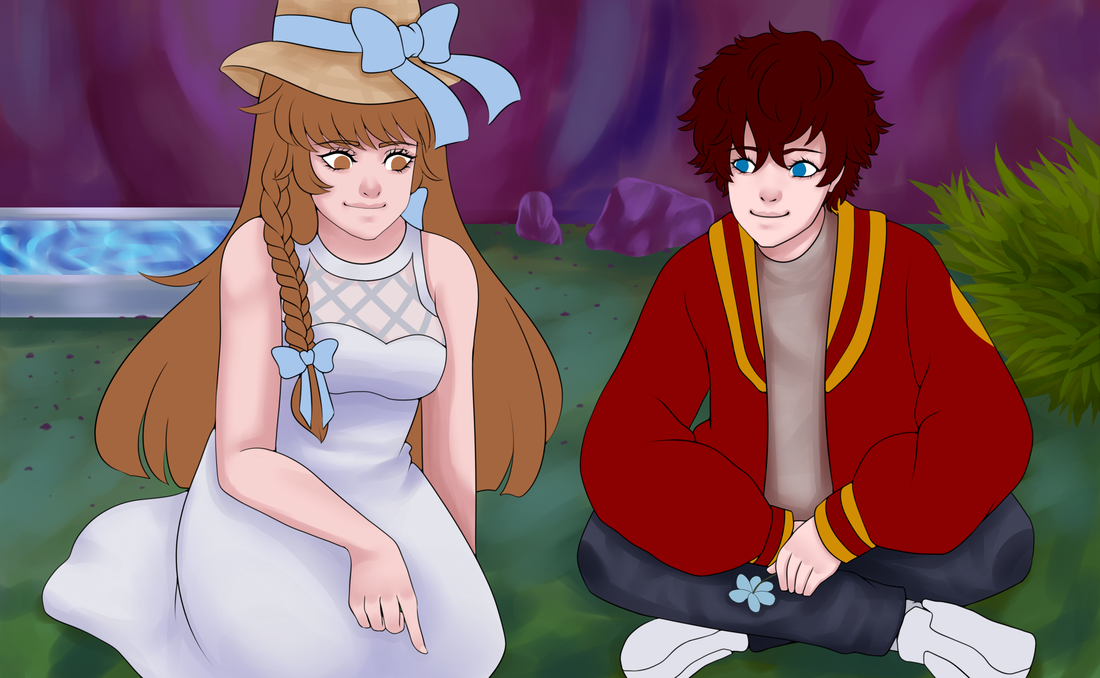
And besides Valentine's art, I'll also share a work in progress of one of the CGs from the demo- this is from the scene where Kotachi meets the mysterious girl V and is in her garden.


 RSS Feed